参考资料
- Hexo 配置 404 页面 | Egbert Wong :采用MD渲染,路子不同,算是另外一种方法
- 20 个好看又酷炫的 404 页面-51CTO.COM :404页面样式基础
- hexo创建404 | 琴心剑胆 :布局渲染知识点
- 模版 | Hexo :官方布局渲染知识点
- mattboldt/typed.js :404页面引用的库
默认样式
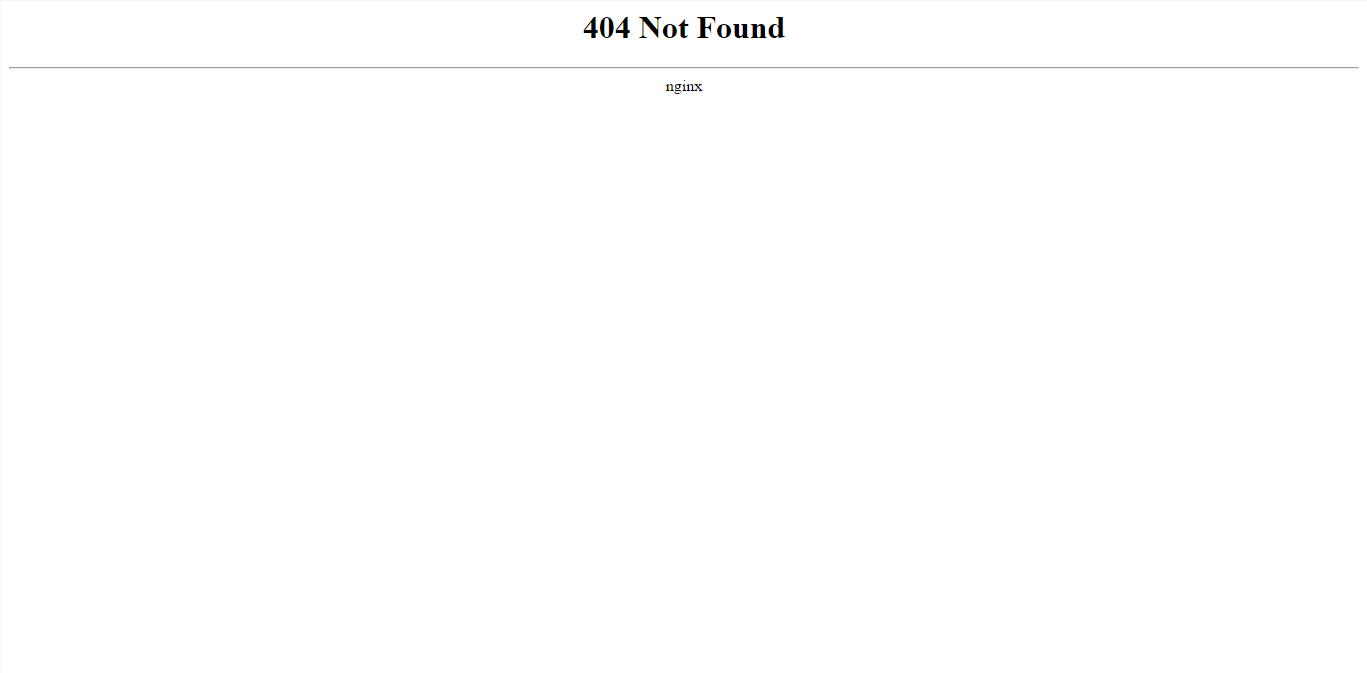
如果是使用Nginx进行反代博客,那么访问不存在的页面的话
显示的页面如下,比较简陋,不够美观
自定义404页面
Hexo中创建自定义404有2种方法
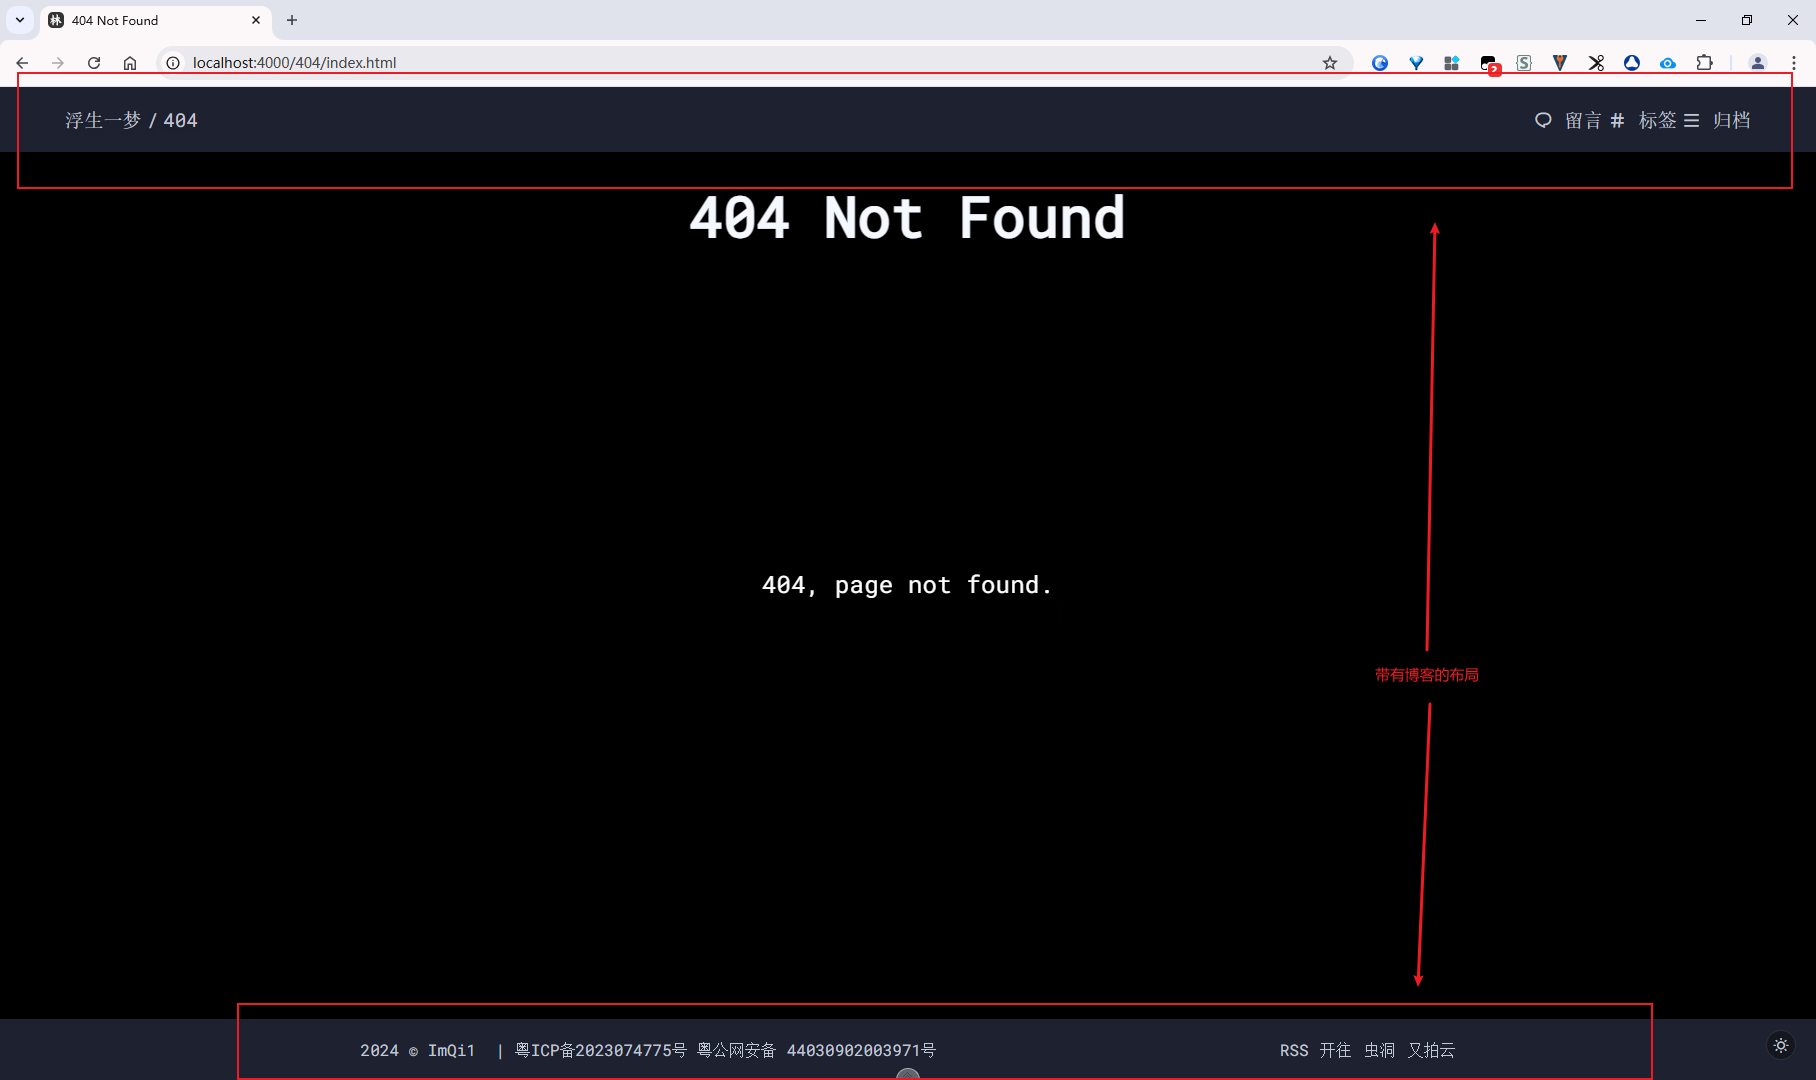
- MD 渲染 HTML:第一种是使用MD渲染出来,这样页面带有你博客的页面布局,具体参考上面的参考资料1,缺点是麻烦(MD 中写 HTML 文档然后再重新渲染成 HTML…)
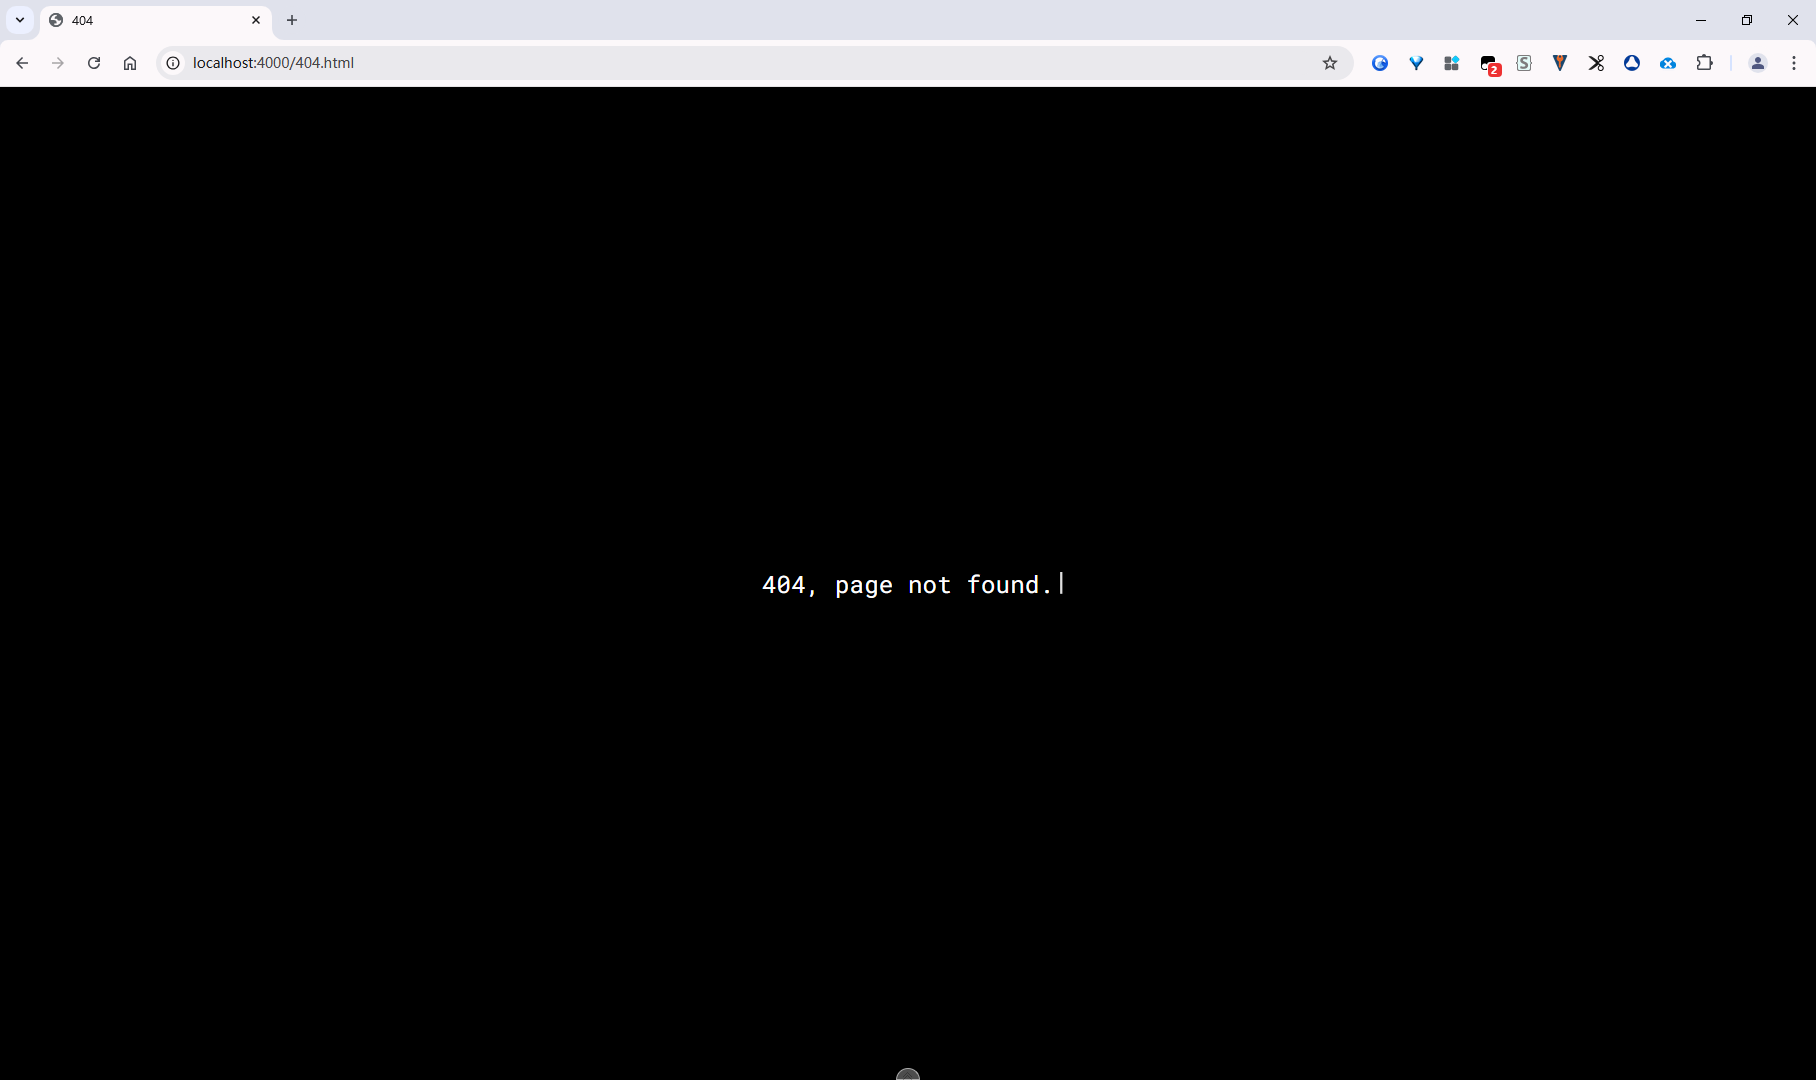
- 直接写 HTML:第二种就是我现在的做法,我不想要 404 页面带有任何布局,只是一个单纯的页面,直接写 HTML 放根目录下
看下两者的区别
效果图(带有博客布局)
效果图(纯页面)
这里我介绍下纯页面的做法
Hexo
我们在Hexo站点根目录下的source下创建一个404.html
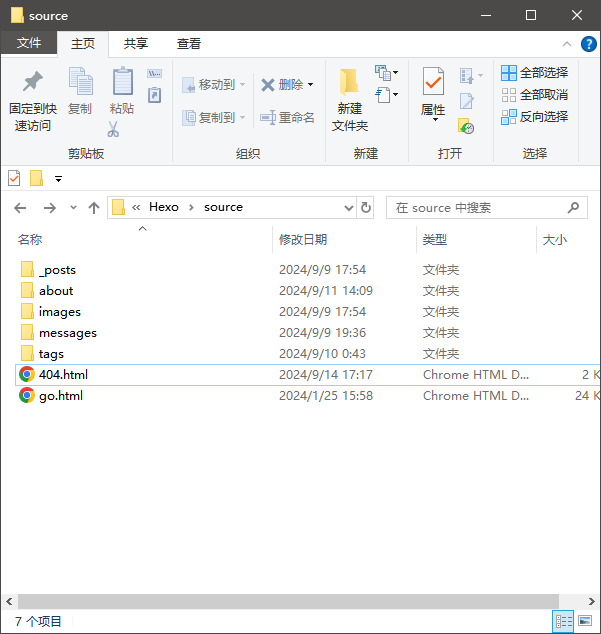
然后在这个404页面中,写自己要的页面
个人设计能力确实不行,直接在网上找现成的模板
我这里使用了参考资料2中的一个模板(挑选了一个比较简约的), https://codepen.io/selcukcura/pen/XeQpEv
这里使用GSAP模块出了点问题,一直提示找不到new SplitText方法
这个模块不熟悉,可能版本迭代函数名变更,暂时不知道啥原因,简单实现个页面,不深入了解了,放弃该方案
我改用typed.js实现类似的打字机效果,再简单调整下样式
layout: false
---
<!DOCTYPE html>
<html lang="en">

<head>
    <meta charset="UTF-8">
    <meta name="viewport" content="width=device-width, initial-scale=1.0">
    <title>404</title>
</head>

<body>
    <script src="https://unpkg.com/typed.js@2.1.0/dist/typed.umd.js"></script>
    <style>
        @import url('https://fonts.googleapis.com/css?family=Roboto+Mono');

        .center-xy {
            width: inherit;
            top: 50%;
            left: 50%;
            transform: translate(-50%, -50%);
            position: absolute;
        }

        html,
        body {
            font-family: 'Roboto Mono', monospace;
            font-size: 16px;
        }

        html {
            box-sizing: border-box;
            user-select: none;
        }

        body {
            background-color: #000;
        }

        *,
        *:before,
        *:after {
            box-sizing: inherit;
        }

        .container {
            width: 100%;
        }

        .copy-container {
            text-align: center;
        }

        p {
            color: #fff;
            font-size: 24px;
            letter-spacing: .2px;
            margin: 0;
        }


        #typing {
            display: inline-block;
        }

        /* 光标效果 */
        .typed-cursor.typed-cursor--blink {
            color: #fff;
            font-size: 24px;
            position: absolute;
            bottom: 4px;
        }
    </style>
    <div class="container">
        <div class="copy-container center-xy">
            <p id="typing"></p>
        </div>
    </div>


    <script>
        var typed = new Typed('#typing', {
            strings: ['404, page not found.'],
            typeSpeed: 50,
            showCursor: true,
            autoInsertCss: true,
        });
    </script>
</body>

</html>
需要注意的是开头需要加上一个不需要渲染的声明layout: false,否则该页面还是会被渲染,从而带上博客的布局
每个模板都默认使用
layout布局。
您可在front-matter指定其他布局,或是设为false来关闭布局功能。
您甚至可在布局中再使用其他布局来建立嵌套布局。具体参考:模版 | Hexo
Nginx
创建完页面后,需要将失败的请求、错误的请求指向这个页面
这里修改下Nginx的配置,在location中增加个try_files处理失败的请求指向404页面
location / {
    root   C:/Hexo;
    try_files $uri $uri/ /404.html;
    index  index.html index.htm;
}
在server块的指令块中的error_page指令指向404页面
即当发生 404 错误时,使用 /404.html 作为错误页面。
# 自定义 404 错误页面
error_page 404 C:/Hexo/404.html;
完整代码参考如下
# 博客服务
server {
    listen 443 ssl;
    server_name linguoguang.com www.linguoguang.com;
    ssl_certificate      C:/Users/Administrator/Desktop/nginx/ssl/linguoguang.com.pem;
    ssl_certificate_key  C:/Users/Administrator/Desktop/nginx/ssl/linguoguang.com.key;

    ssl_session_cache    shared:SSL:1m;
    ssl_session_timeout  5m;

    location / {
        root   C:/Hexo;
        try_files $uri $uri/ /404.html;
        index  index.html index.htm;
    }
    # 自定义 404 错误页面
    error_page 404 C:/Hexo/404.html;

}
配置完后,记得重启Nginx服务
查看效果
完成部署后,随便在博客域名的基础上乱输入,或者直接+404.html请求都是访问404页面
查看效果:404